Correct Authoring in PowerPoint
PowerPoint files can be made accessible. This tutorial will start with PowerPoint's Accessibility Checker, followed by some best practices for PowerPoint.
Using the Accessibility Checker
PowerPoint features it's own Accessibility Checker that will examine the contents of your PowerPoint Presentation and make recommendations on formatting to make your Presentation accessible.
1. Select the Review tab.
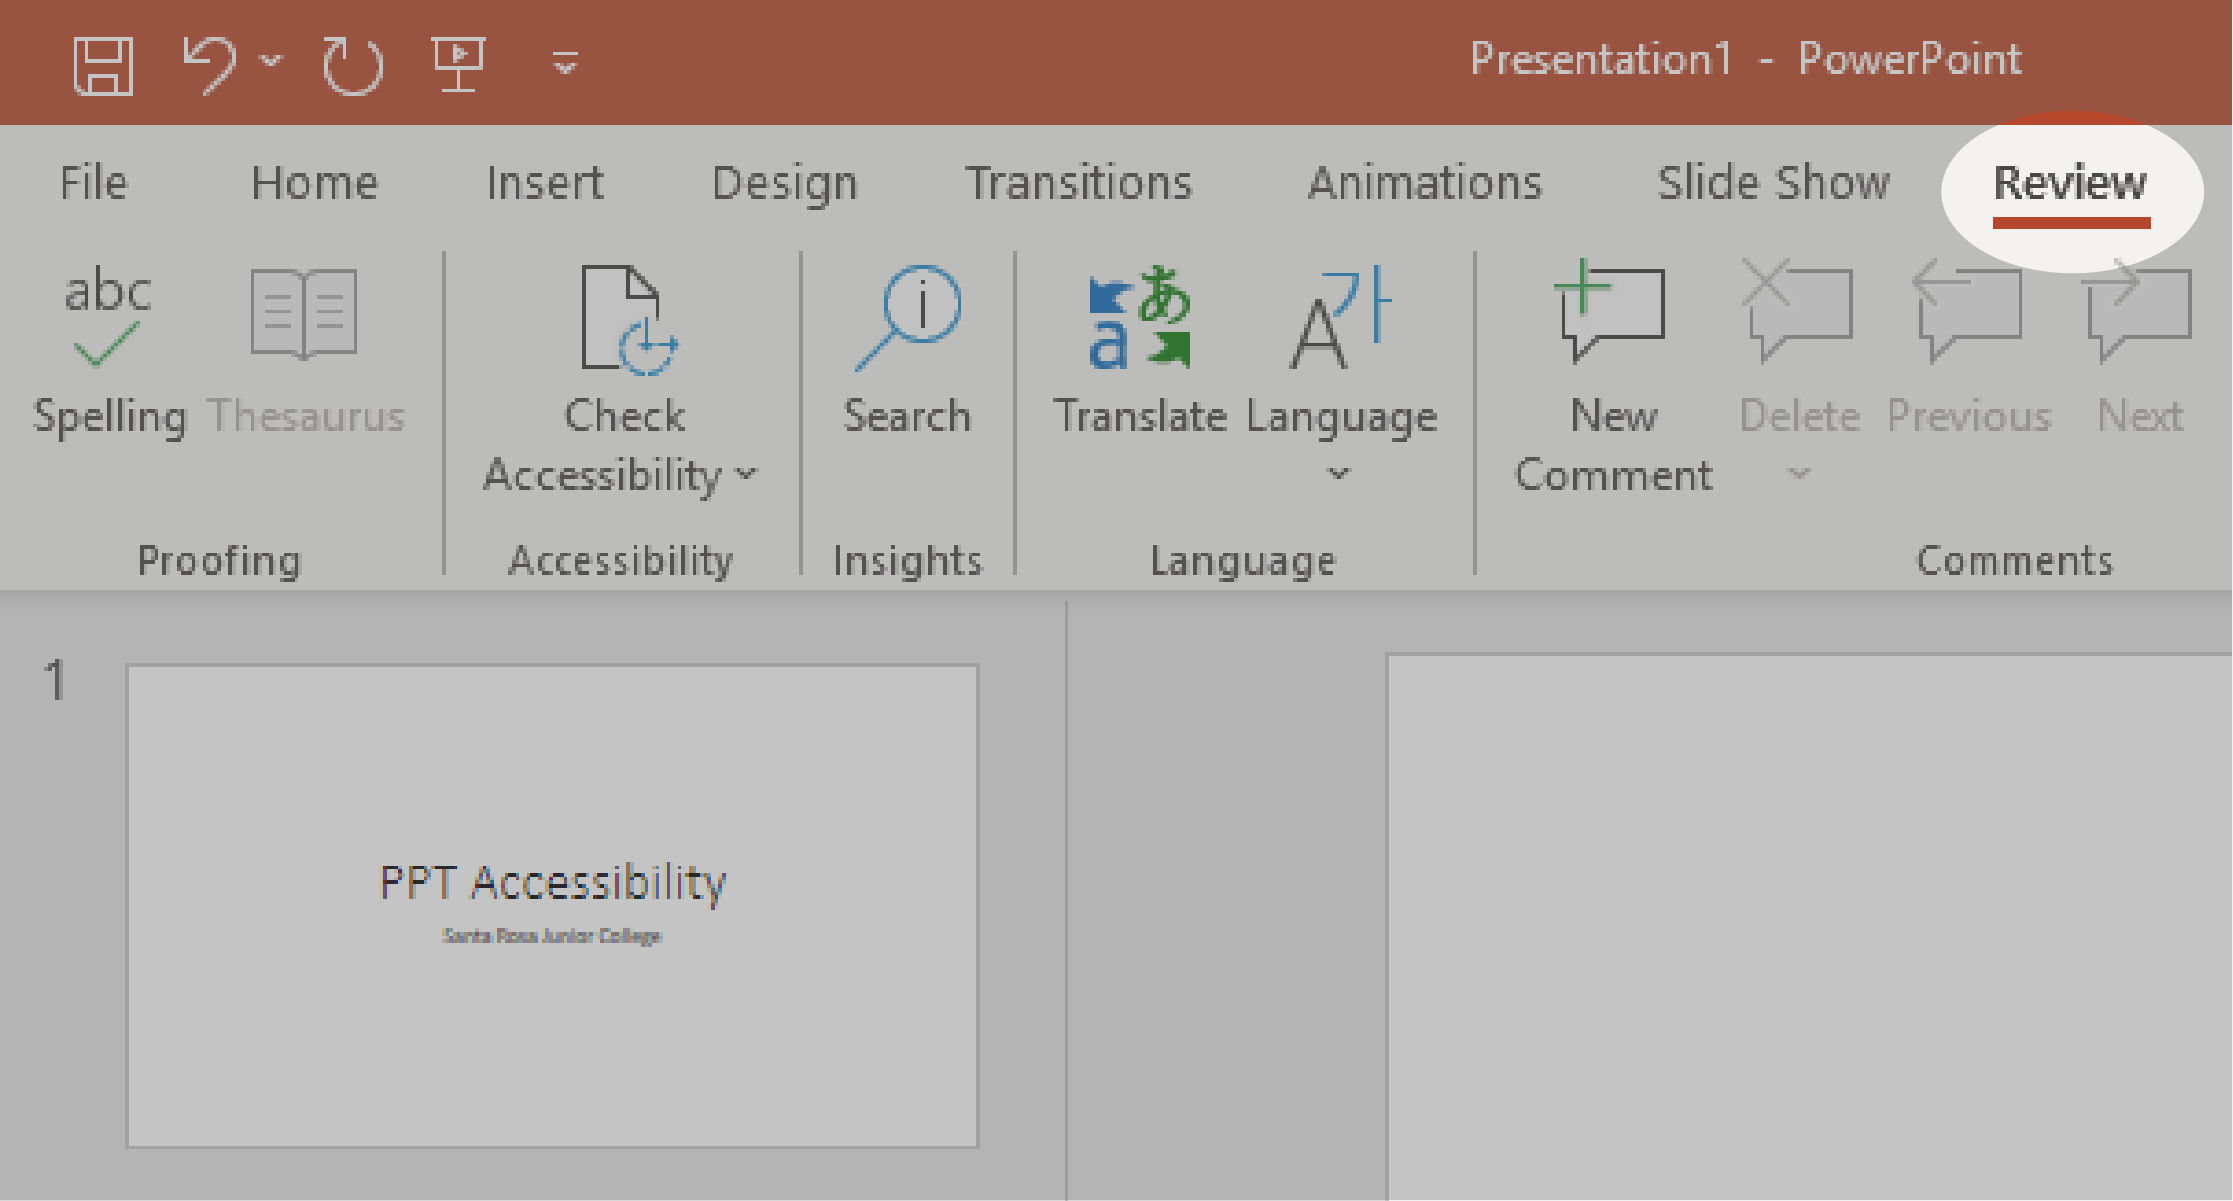
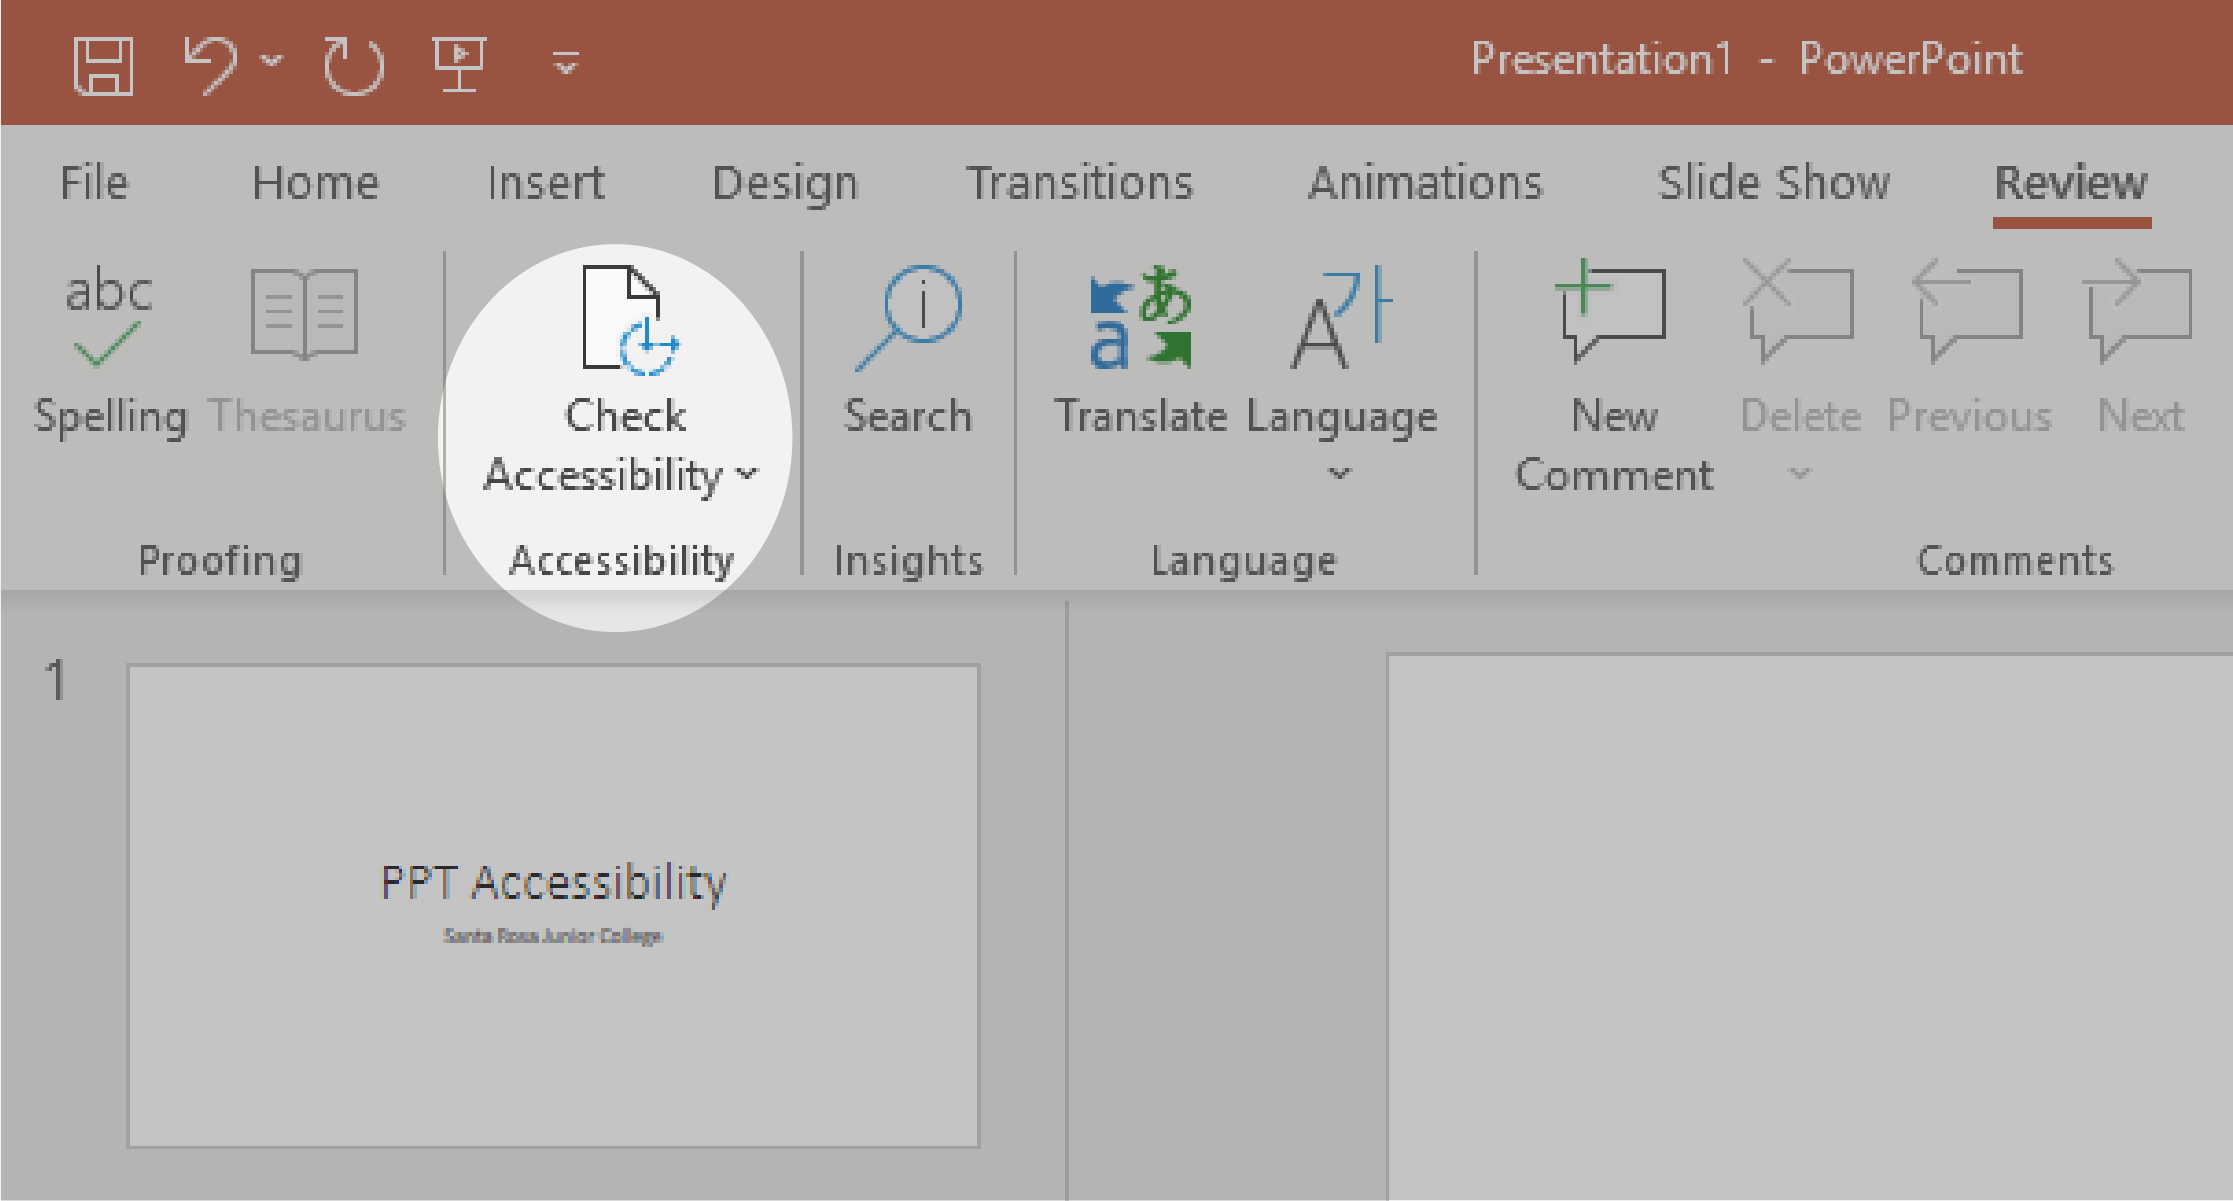
2. Select the Check Accessibility button to open the Accessibility pane on the right.
3. In the Accessibility pane, review and address the findings under Inspection Results.
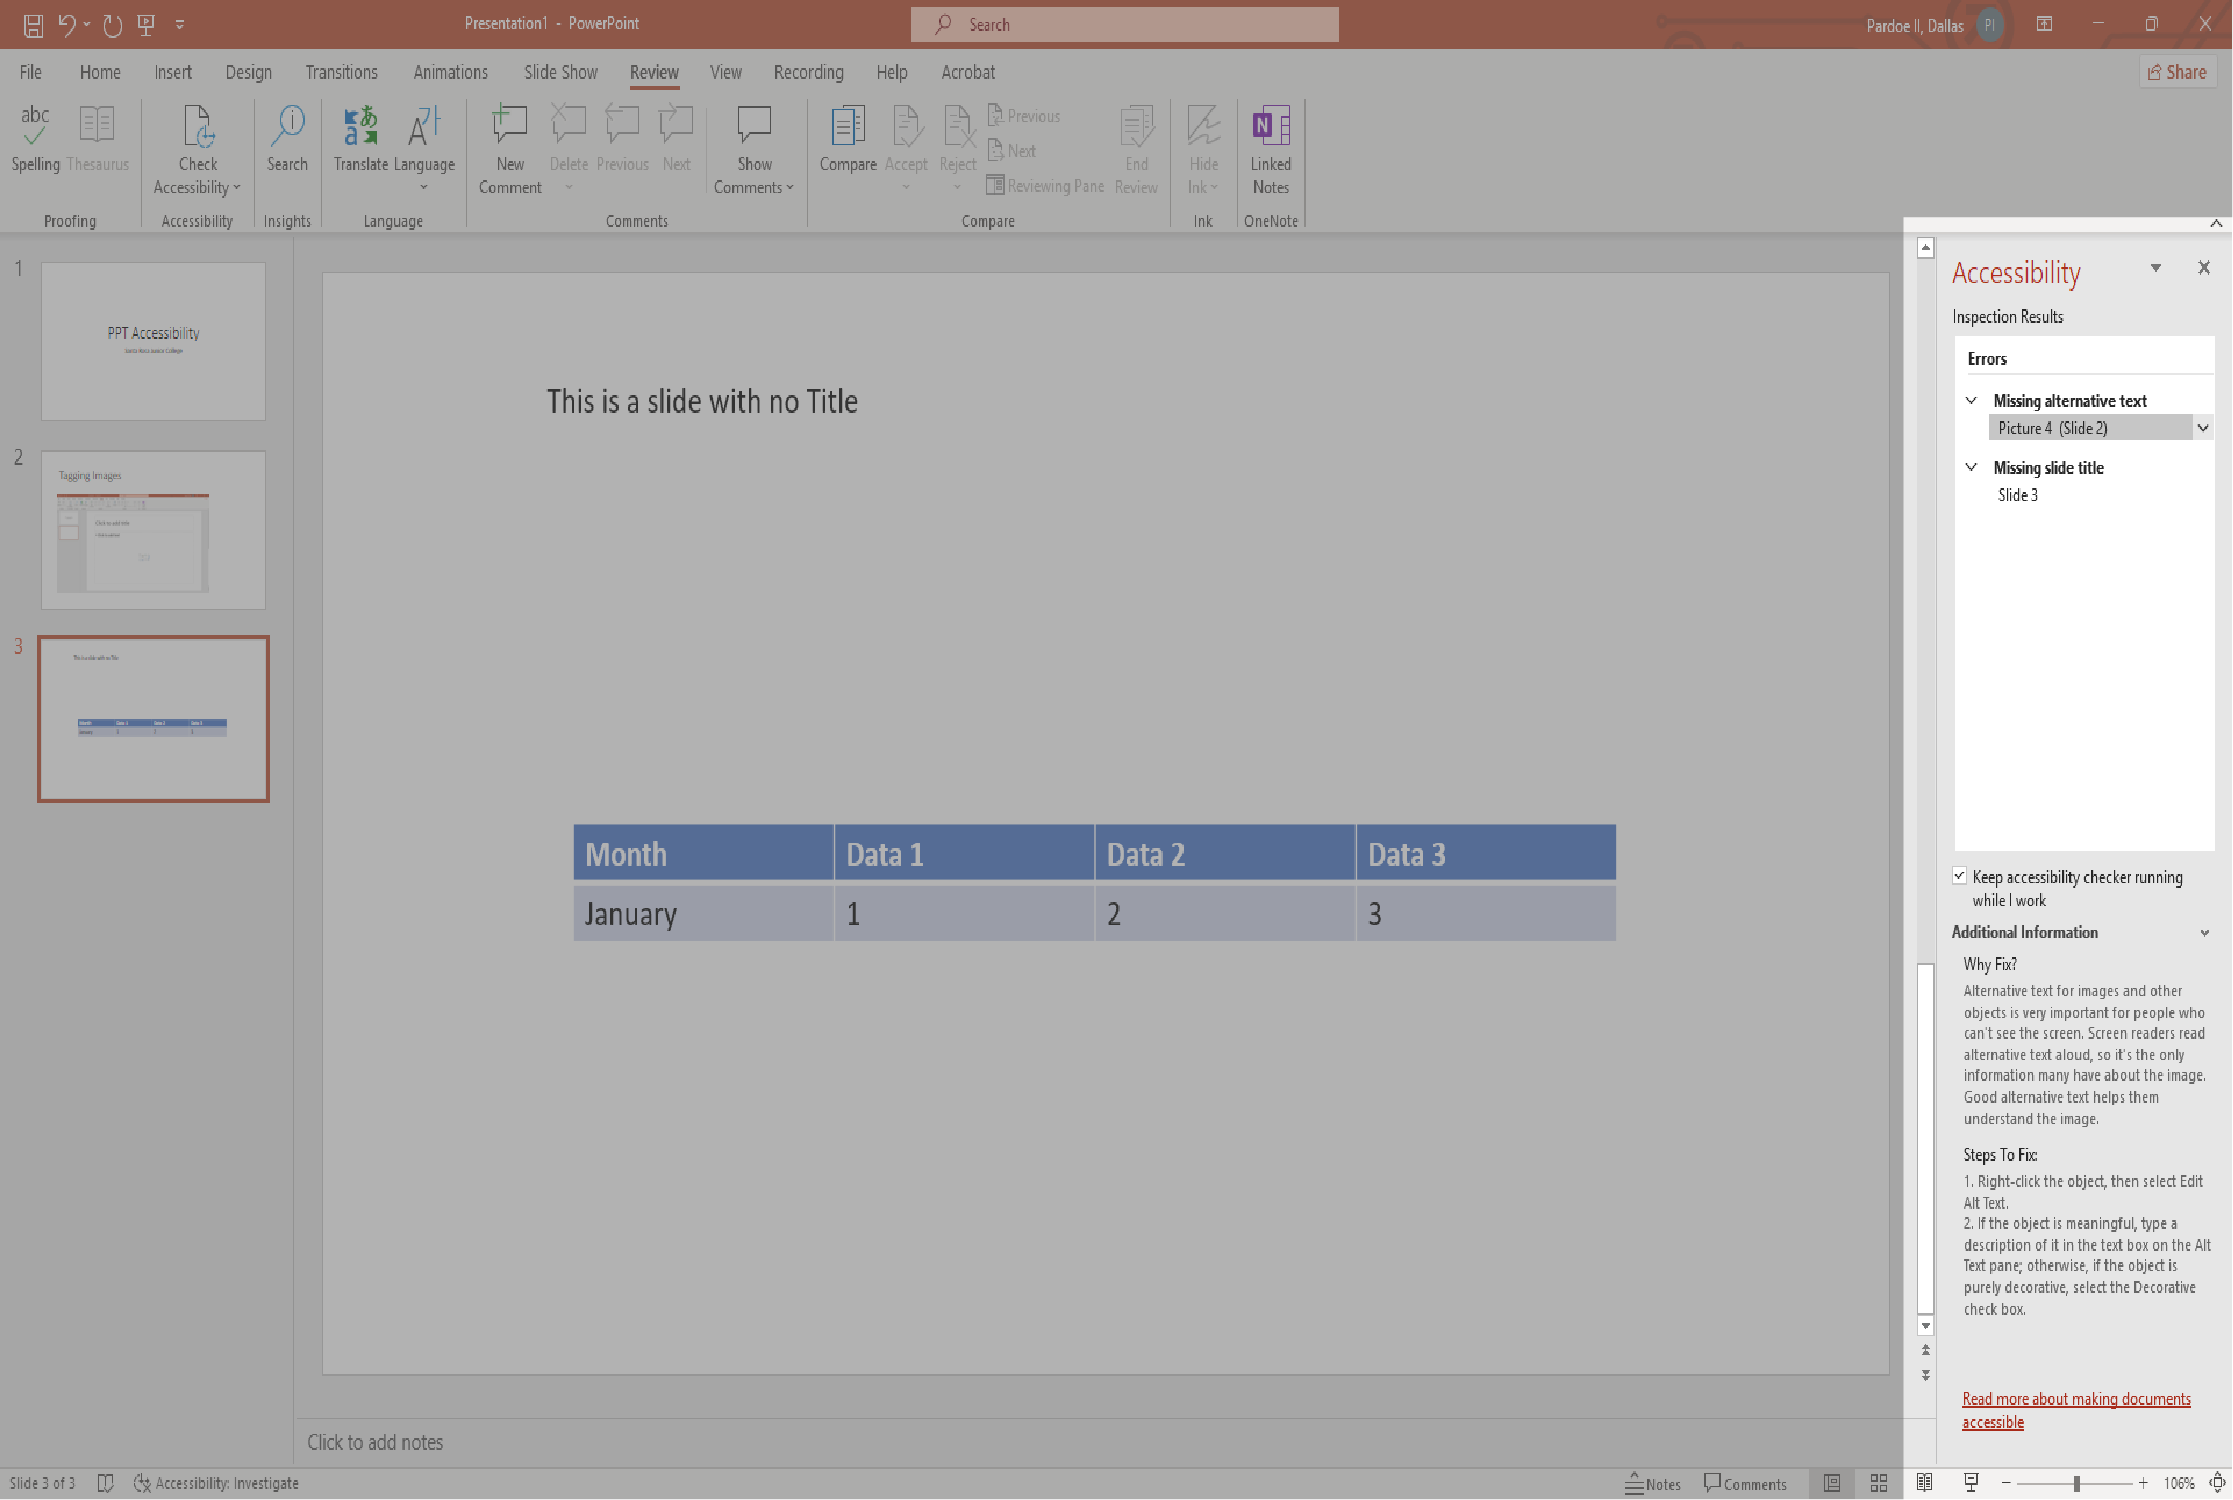
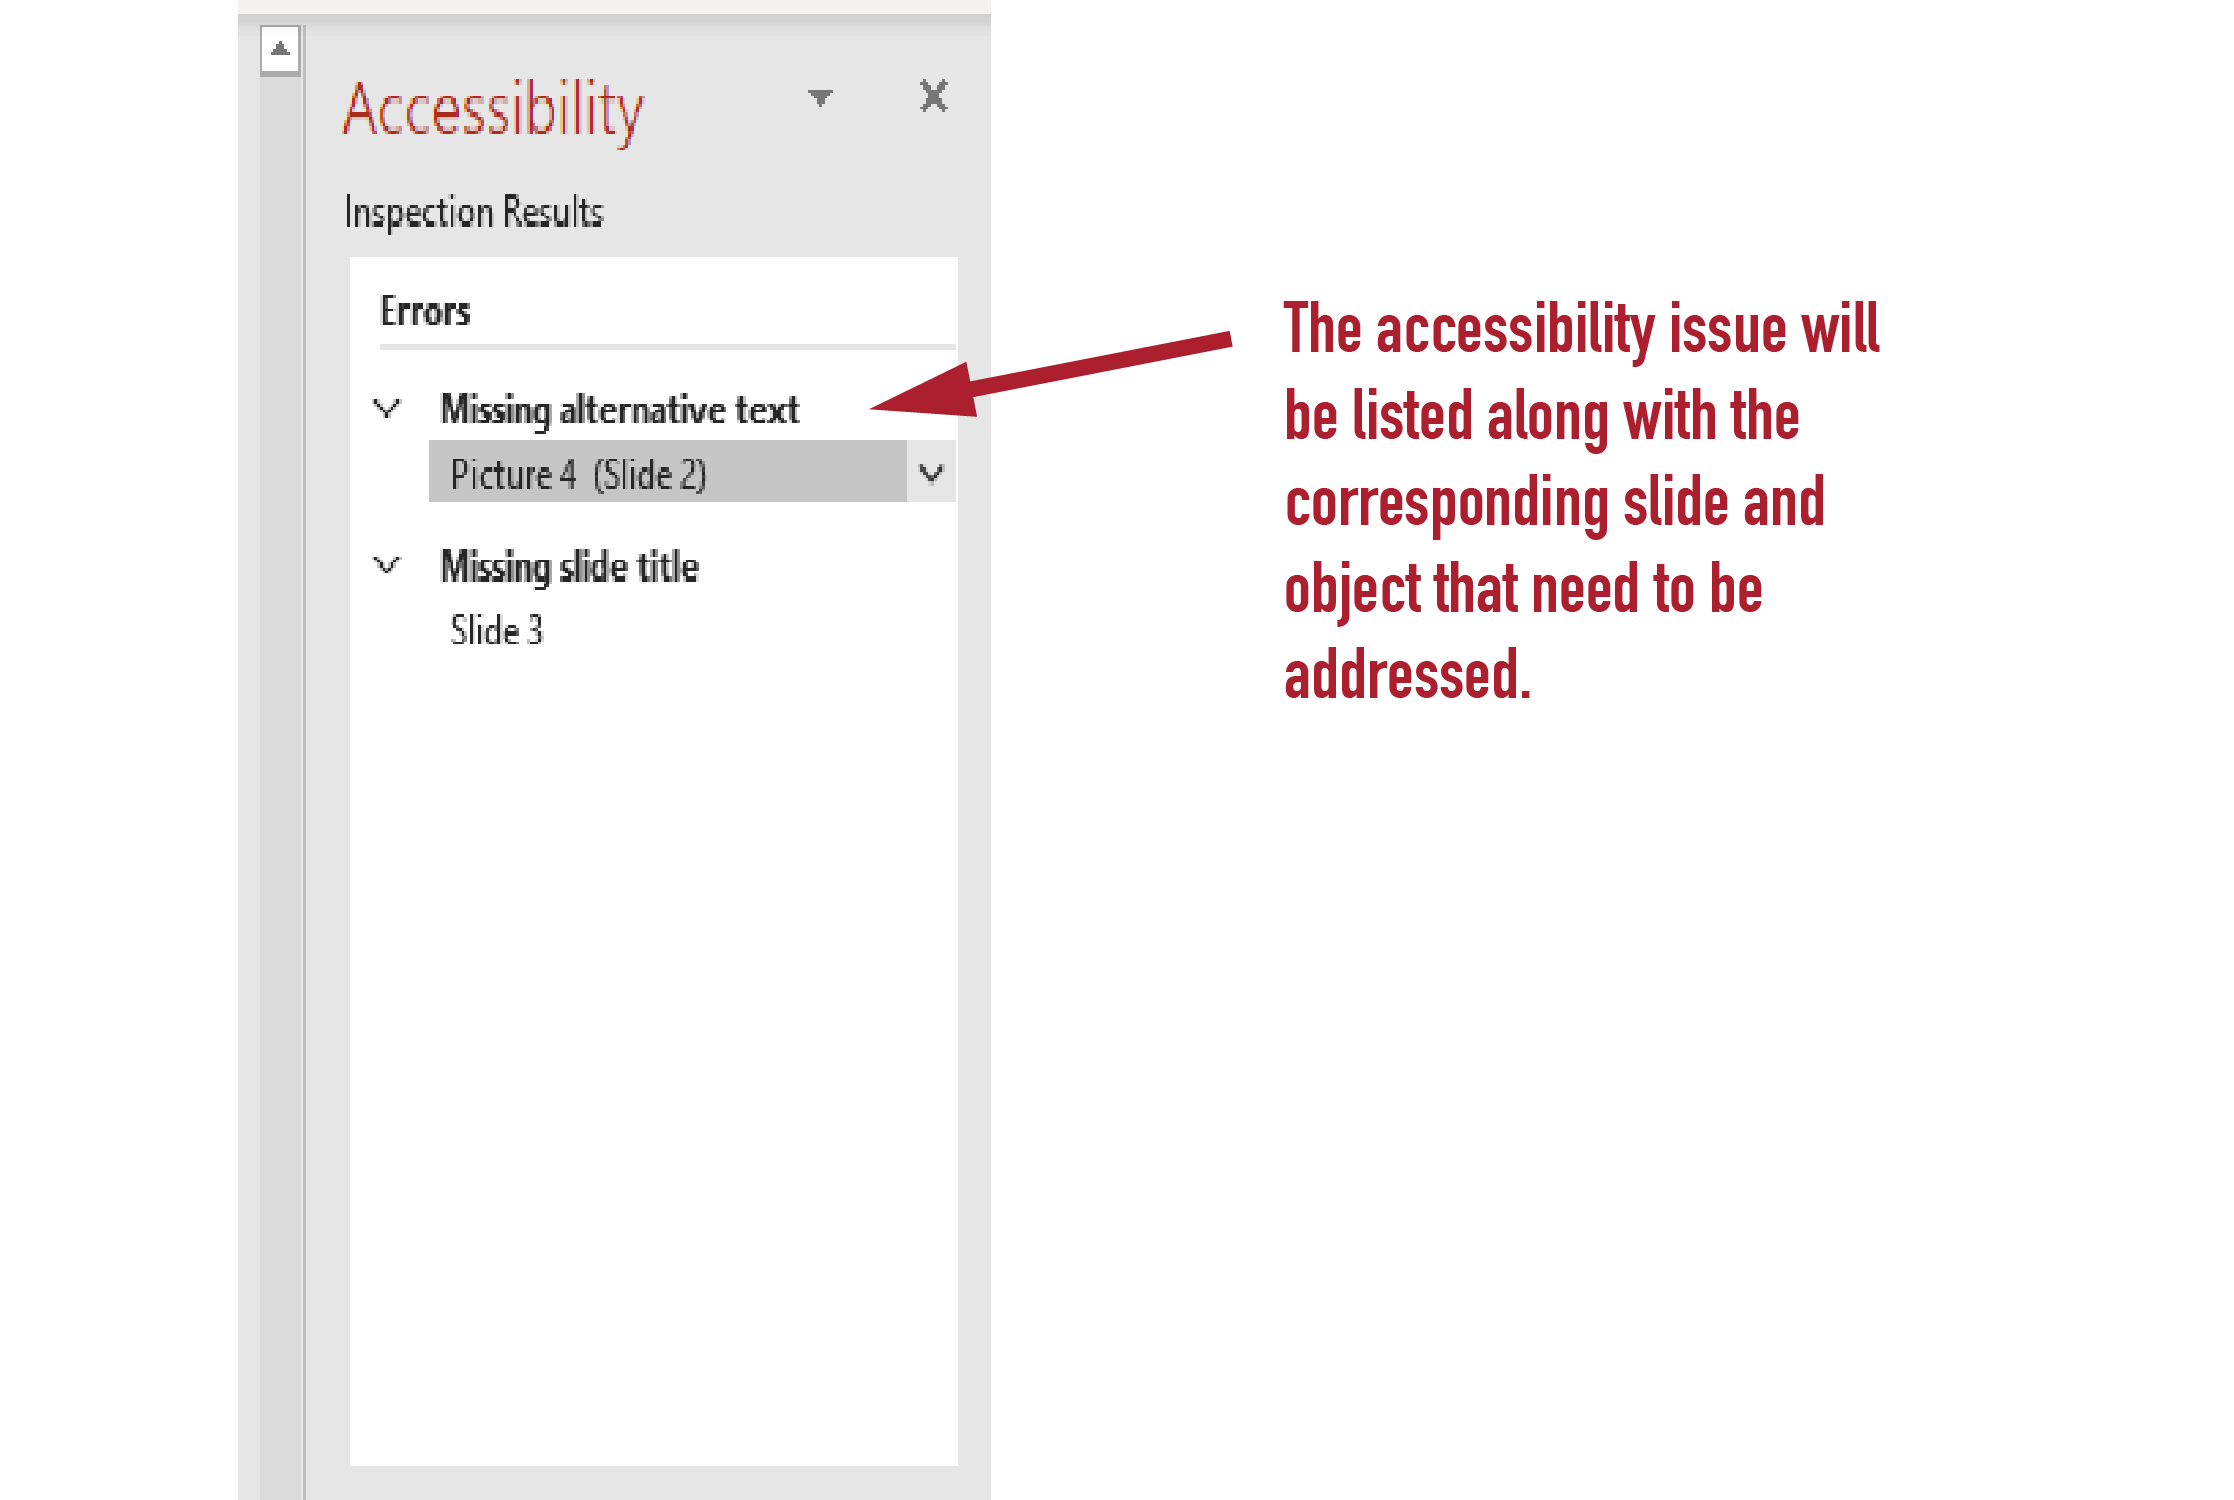
4. Here is a close up of the Accessibility pane. You'll see a list of errors and warnings, with how-to-fix recommendations for each issue.
5. In the Accessibility pane, select an issue under Warnings or Errors. The list will expand and show the items and objects affected by the issue. To address the issue, select the down arrow button next to it and open the Recommended Actions list.
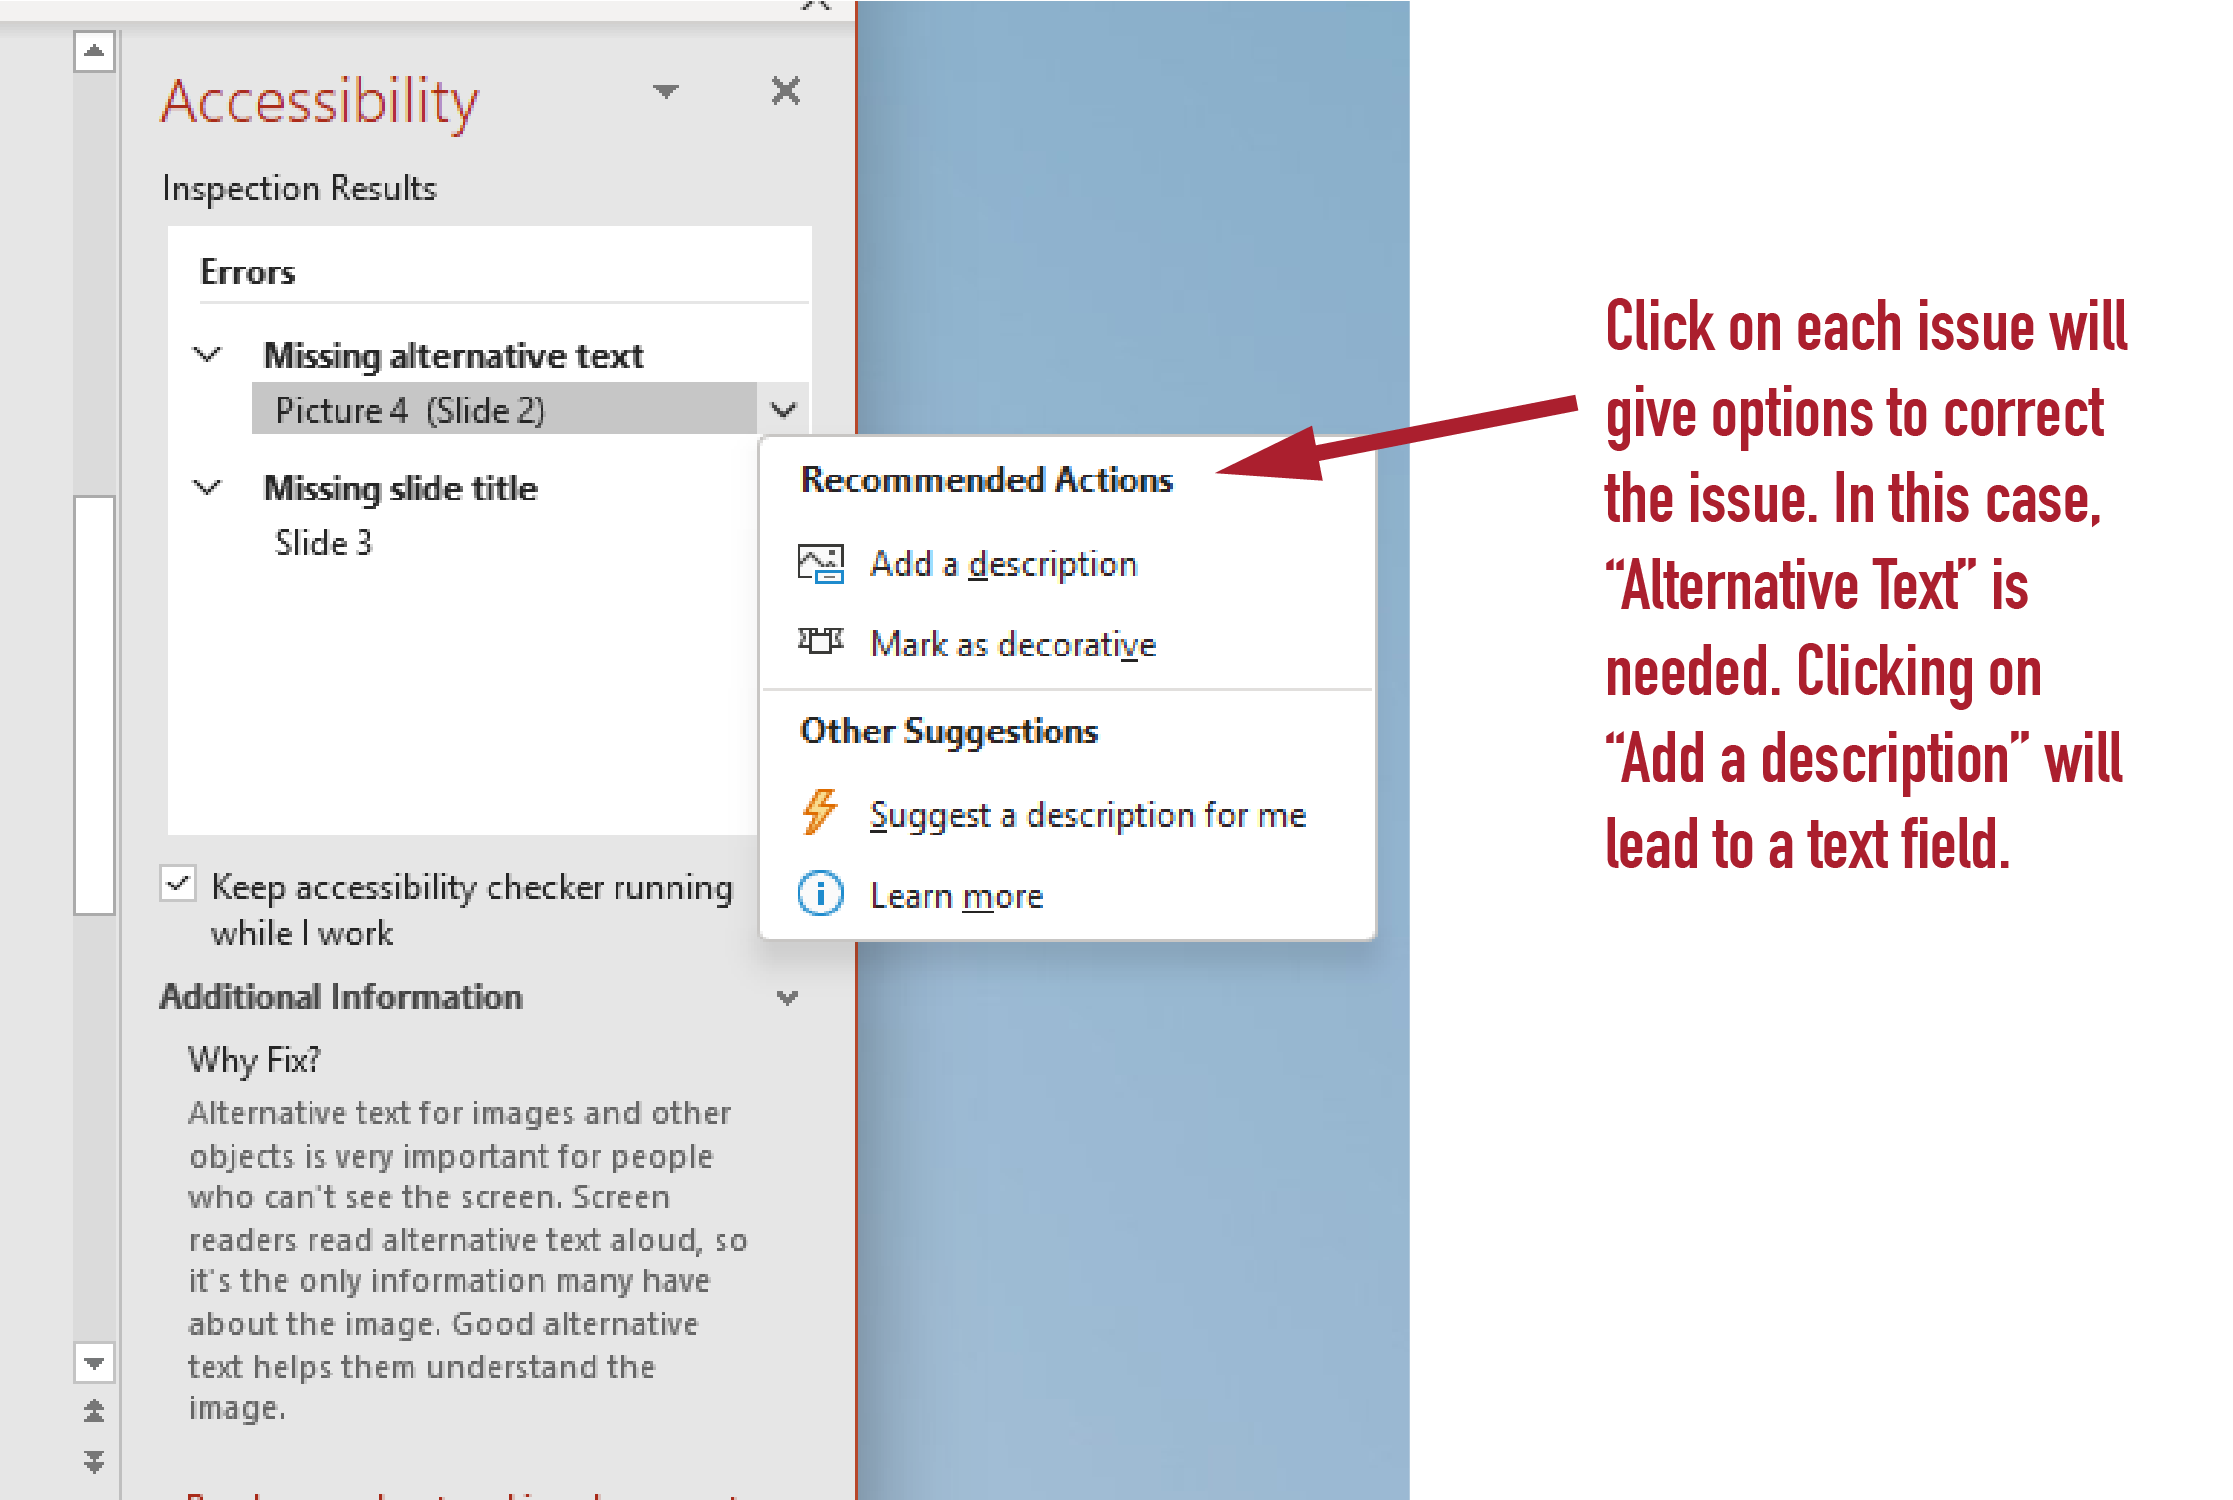
6. To apply a fix, select an action from the Recommended Actions list. To view more options, select the right arrow button next to the action (if available).
7. Go through and resolve each issue under Warnings and Errors.
Best Practices for avoiding accessibility errors when creating a powerPoint
Use the pre-defined templates
Use the pre-defined template boxes to add the title, subtitle, text and images
- Cleans up 98% of issues
- If you need to add another image or text box, change the Slide Layout of the slide to add more boxes
- Don't ever use the Blank Layout
- Avoid Text Boxes from Insert menu
Following are screen shots showing how to access the Slide Layout templates in the various versions of PowerPoint.
Unique Titles
Make sure that the titles to each slide are unique.
- Titles are useful for organization, searching, and studying.
- Repetitive titles add cognitive load.
- Clear and focused titles enhance communication and pedagogy.
- Invisible titles can be used.
Meaningful Links
All hyperlink text should be descriptive of where the link goes to. Use the “Screen Tip” field that creates a visual pop-up with another set of instructions for the link.
Tables
- Always use simple tables
- Use headers
- Do not use tabs, spaces or text boxes to create tables
- Do not nest tables
- No spacing cells, no merged cells
- Header Row option does not do anything other than visually format, does not make a header row for accessibility
- Imported tables from Word may not be accessible
- Insert a table into a PowerPoint slide by:
- Slide layout tool – click on the table icon in a slide template box
- Insert menu > Table
Reading Order
It is important the content is read in the correct order by assistive technology.
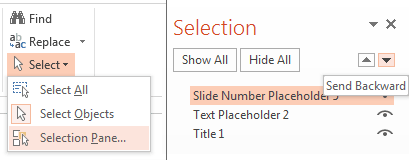
- Use the Selection Pane to access tools to affect reading order.
- From the Home tab, in the Editing section, click on Select > Selection Pane.
- Select an item and use the arrow keys to send backward, or bring forward.
Issues of Color
- Colorblindness is common; avoid red, orange, and green in same template.
- Use texture in graphs as well as color.
- Use graphics and animation to highlight key points rather than just color
- High contrast is a good thing.
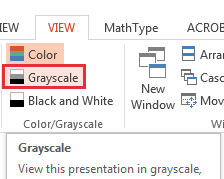
Color Checker
- Select the “View” tab.
- Find the “Color/Grayscale” group.
- Select “Grayscale” or “Black and White”
- Works better when you have something selected, and then check with these tools